
1 What Photos Should Go in Your Merchant Gallery? A First-Time Setup Guide
From real product shots to store environments, choose your first batch of photos to help customers understand your business faster
Setting up a merchant gallery for the first time and not sure what photos to upload? This article covers how to select your first batch of photos from products, store environments, service cases, and selected works, and explains the display order. It helps merchants organize clear, authentic images so customers can better understand your business and reach out after browsing.
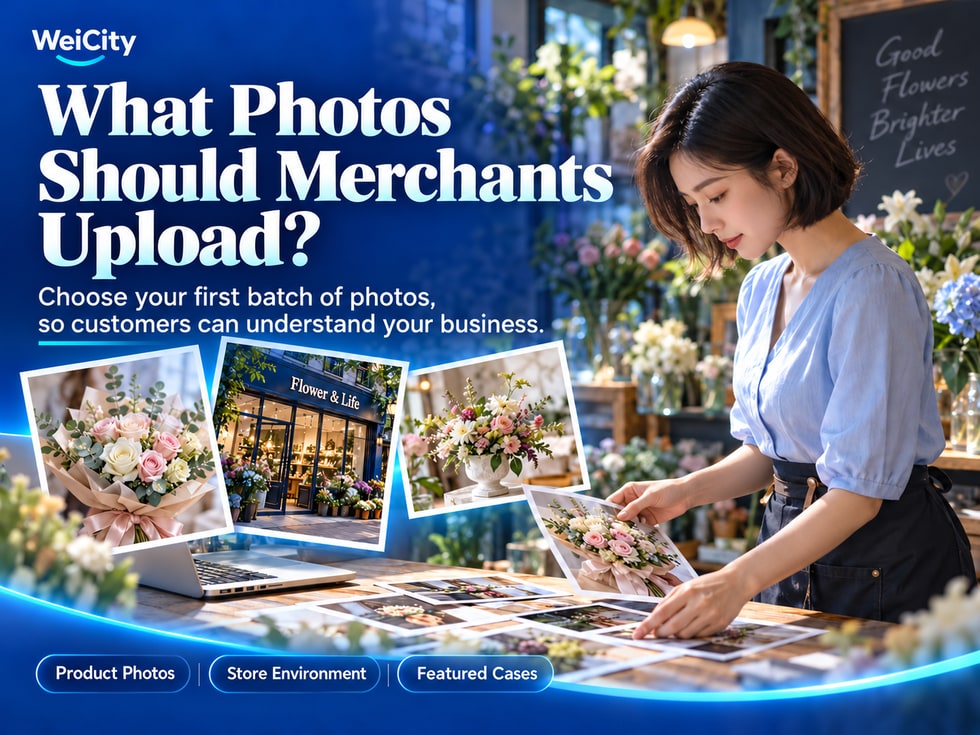
When creating your merchant Gallery for the first time, start with one question: What do customers most want to see clearly before contacting you?
Customers buying products may want to see the appearance and details.
Customers planning to visit in person may want to learn about the storefront and interior environment.
Customers looking for a service may want to see the cases you have completed.
📸 When organizing your WeiCity merchant Gallery, you can select photos around these needs, so customers can find the basis for their judgment and choice from the images.
Different types of merchants have different photos that are suitable to display.
🛍️ Retail merchants: Show product appearance, colors, styles, and details.
🍰 Restaurant and bakery merchants: Show dishes, desserts, packaging, and the in-store environment.
🏪 Physical stores: Show the storefront, entrance, displays, and business space.
🛠️ Service merchants: Show completed service projects and real cases.
🎨 Creative merchants: Show representative works, design styles, and finished creations.
You do not need many photos for the first batch. The key is to let customers quickly understand what the merchant offers.
📌 Every photo should have a clear purpose, rather than being added just to make the Gallery look full.
If you run a retail, bakery, flower shop, or handmade business, you can start by preparing real photos of your main products.
The first batch of photos should prioritize products currently available that represent your store's characteristics.
📸 Full product view: Let customers see the overall appearance of the product clearly.
🔍 Product details: Show materials, textures, packaging, or making features.
🎨 Colors and styles: If there are different options, show the main differences.
📏 Size reference: When necessary, add a suitable reference object to help customers understand the size.
For example:
A merchant selling handmade cakes can first show a complete cake, then add photos of the cross-section, decorations, and packaging.
A clothing merchant can show the overall appearance of garments, fabric details, and different colors.
Avoid uploading many consecutive photos with very little difference.
Each image should provide new information that helps customers see more clearly.
If customers need to visit your store in person, you can prepare photos of the storefront, entrance, and main business space.
📍 Storefront: Help customers recognize the signboard and entrance.
🚪 Store entrance: Make it easier for first-time visitors to locate the store.
🪑 Interior environment: Show seating, displays, reception areas, or service spaces.
🛍️ Product display: Let customers see the main products sold in the store.
For example:
🍽️ Restaurants can show the dining environment and seating arrangements.
💇 Hair salons can show the reception area and service spaces.
🎓 Education centers can show classrooms, learning environments, and facilities.
🏬 Retail stores can show product displays and store layout.
When selecting environment photos, show the store's current real condition.
Signboards that have been replaced, outdated decor, or areas no longer open can easily cause customer confusion.
Merchants offering services such as renovation, cleaning, repair, or installation can select photos of completed projects.
When organizing for the first time, you do not need to upload every past project.
You can start by choosing a few cases that represent your main services.
🔧 Repair services: Show the equipment or repair results after completion.
🏠 Renovation projects: Show completed spaces and construction details.
🧹 Cleaning services: Show actual completed cleaning projects.
🔌 Installation services: Show the overall result and relevant details after installation.
For example:
A merchant providing air conditioner installation services can show:
📸 An overall photo after the air conditioner installation is completed.
🔍 Details of the piping and installation location.
📝 A brief description of the equipment type installed and the service provided.
Pair each group of cases with a simple description so customers know the specific work shown in the photos.
🔒 If photos involve a customer's home or private space, obtain consent before publishing and avoid personal information such as addresses and phone numbers.
Design, photography, floristry, nail art, and other creative merchants can select representative images from past works.
When selecting, consider whether the work is clear, whether it matches the services currently offered, and whether it shows your distinctive features.
💐 Floristry merchants: Show bouquets in different styles, colors, and purposes.
💅 Nail merchants: Show different designs and actual completed work.
📷 Photography merchants: Show different shooting themes and photographic styles.
🎨 Design merchants: Show brand designs, posters, or other representative works.
🧁 Bakery merchants: Show custom cakes, desserts, and decorative works.
If you offer multiple styles, you can select a small number of representative works for each so customers can see different options.
Production methods you can no longer accommodate or designs no longer offered should be clearly labeled to avoid customers mistakenly thinking they can still order them directly.
To start, you can prepare about 8 to 12 photos with clear purposes, then add more based on business needs.
This number is a organizing suggestion; the actual number uploaded should follow platform limits and content needs.
Using a flower shop that offers custom bouquets as an example, you can make selections like this:
🌷 4 photos of main bouquet works
Show different purposes, colors, or design styles.
🔍 2 photos of flower materials and packaging details
Help customers understand the texture of the bouquets and how they are packaged.
🏬 2 photos of the storefront and in-store environment
Let customers recognize the shop and pickup location.
🎁 2 custom service cases
Show completed custom bouquets, and explain the occasions they suit and what was made.
In this way, you prepare 10 photos in total, which can initially showcase products, details, environment, and service features.
If you do not have a physical store, you can replace the environment photos with photos of the making process or other related works.
The photo combination should match your actual way of operating; there is no need to upload unrelated content just to reach a number.
When selecting photos, you can place the images that best represent your business first, then add details and cases.
A clear way to present content is:
👀 Step 1: Start with main products or representative works
Let customers know what the merchant offers.
🔎 Step 2: Then view details and service cases
Help customers understand product features, making methods, or completed results.
📍 Step 3: Get to know the store environment
If a visit is needed, let customers learn about the storefront and business space in advance.
💬 Step 4: Make further inquiries
Let customers know how they can contact the merchant to ask about preferred products, styles, or services.
For example:
After seeing a flower shop's representative bouquets, customers may continue to look at different colors, packaging details, and custom cases.
After learning more, they can then contact the merchant to ask about prices, flower materials, or ordering arrangements.
When actually publishing, you can organize content according to the display methods currently supported by the WeiCity Gallery.
Captions can first clearly state "what this is," then add features customers may care about.
Avoid overly simple names such as "Photo 1", "Work 2" or "Shop Photo".
For example:
🌷 General example: Work One.
✅ Recommended example: Birthday Custom Bouquet | Blue and White Color Scheme with Simple Wrapping.
🏪 General example: Shop photo.
✅ Recommended example: In-Store Reception Area | Where Customers Discuss Bouquet Styles and Pick-Up.
🛠️ General example: Installation completed.
✅ Recommended example: Residential Air Conditioner Installation Case | Finished Indoor Unit Installation.
🍰 General example: Cake photo.
✅ Recommended example: Birthday Custom Cake | Cream Decoration with Fruit Pairing.
Using accurate and natural product and service names helps readers understand the subject of the image.
For Google SEO, you may also use product names, service types and location names related to the image content where appropriate.
However, add location names only when they are relevant to the content, and there is no need to repeat the same keywords for every photo.
📌 Image descriptions should be based on what is real and accurate. Do not add content unrelated to the photo just to include more keywords.
Once you have prepared your first batch of photos, you may check the following items first:
✅ Clear photos: Is the subject easy to identify, and is it free from blur?
✅ Complete framing: Has any product or work been accidentally cropped out?
✅ Authentic content: Do the photos show the products or services you currently offer, or work you have actually completed?
✅ Avoid repetition: Have you uploaded too many photos that are only slightly different?
✅ Accurate descriptions: Do the image names and introductions match the actual content?
✅ Mobile viewing: Are the photos easy to see when viewed on a phone?
✅ Easy to contact: After viewing the photos, will customers know how to contact you?
For example:
If a product photo looks clear on a computer but the subject appears too small on a phone, consider re-cropping it or choosing a more suitable photo.
If a service case lacks a description, customers may not know what work the photos show. You may add a brief introduction.
📱 After publishing, we recommend viewing the Gallery on a phone once to check it from the customer's perspective.
To set up your merchant Gallery, you can start with a clear set of representative photos.
Show your main products or work first, then add the environment, cases and necessary explanations so customers can gradually learn about your business.
Displaying these images centrally through the WeiCity merchant channel also helps you guide customers to related content when they make inquiries, so you can continue the conversation about the products, styles or cases they like.
For merchants, the Gallery is not just a place to store photos. It is also a display space that helps customers understand your products, services and business strengths.
🖼️ Start with 8 to 12 photos that best represent your business, and gradually build a clear, authentic and useful merchant Gallery.
🌐 WeiCity | Let customers see your products, understand what makes you distinctive, and get in touch with your business.