

3 How to Photograph Products and Services? A Practical Guide for Merchants
From lighting, backgrounds, and composition to product details and service processes, you can take clear, authentic merchant images with just a phone.
Without professional photography equipment, can merchants still prepare channel images? This article covers a pre-shoot checklist, natural light and background choices, and methods for photographing products, food, environments, teams, and service processes, helping merchants use a phone to organize a clear, authentic set of visual content that makes it easy for customers to understand the business.
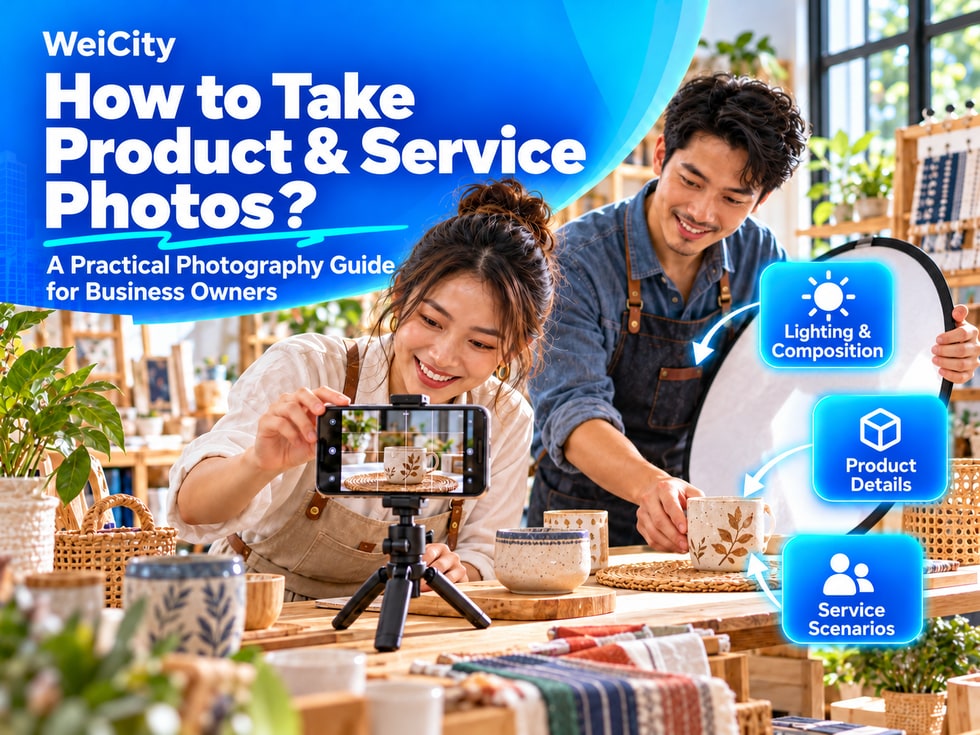
"Can I take good merchant photos without a professional camera?"
"Which angles should I shoot products from?"
"How can I use images to introduce services that can't be seen physically?"
"Do the photos need a lot of text?"
When browsing a merchant channel, customers usually look at images first before deciding whether to read on about products, services and contact details.
Clear images help customers understand product appearance, the actual environment, the service process and how the merchant operates.
💡 Merchant images do not necessarily require expensive equipment. As long as the lighting is adequate, the subject is clear, the background is tidy and the images reflect reality, a phone can be used to prepare practical channel content.
A good merchant photo is not just "nice to look at"; it should also help customers understand.
Photos can answer:
✅ What does the merchant mainly offer?
✅ What does the product actually look like?
✅ What colors, styles, or specifications are available?
✅ In what environment is the service carried out?
✅ What will customers see when they arrive on site?
✅ What steps are involved in the work process?
✅ What does the product packaging and actual portion look like?
✅ Where is the merchant located, and how do you get there?
The more a photo answers customers' questions, the more useful it is.
Do not decide what to shoot only after arriving on site.
You can prepare a shooting list first:
Basic merchant photos
• Storefront exterior• Entrance• Signboard• Reception area• Main business space• Team or person in charge
Product photos
• Whole product• Front, side, and back• Important details• Different colors or styles• Packaging• Accessories• Usage scenarios
Service photos
• Service environment• Tools or equipment used• Work process• Team service scenes• Finished results• Materials customers need to prepare
Visit guide photos
• Building exterior• Floors and units• Entrance direction• Parking location• Nearby landmarks
💡 Listing photos by purpose first helps avoid taking many photos while missing the images you really need.
Before you start shooting, you can complete the following preparations:
✅ Wipe the phone lens
✅ Make sure there is enough storage space
✅ Use the normal camera mode
✅ Check that the image is in focus
✅ Turn off unnecessary filters
✅ Make sure photos are not over-zoomed
✅ Charge the battery sufficiently✅
Clear the shooting environment
Fingerprints or oil on the lens will make photos look blurry.
After shooting, zoom in to check whether product names, textures, and details are clear. If the image is already blurry, retake it immediately.
Natural light usually makes the easiest way to capture realistic, clear photos.
You can choose:
• A position near a window• An outdoor space with shade• A place with bright light but no direct harsh sun• A position with relatively even indoor lighting
Avoid:
• Strong sunlight shining directly on the product• Half bright, half too dark• People with their backs to the window• Multiple colored lights shining at the same time• Using an overly strong flash
When photographing products, you can let light come from the front or front side.
If the product is reflective, slightly change the angle of the phone or product so that light does not reflect directly into the lens.
💡 Realistic colors matter more than heavily intense filters.
The background should help customers see the subject clearly, not steal attention.
Suitable backgrounds include:
✅ A clean tabletop
✅ A single-color wall
✅ A tidy shelf
✅ An actual usage environment
✅ A space that matches the brand style
Before shooting, remove:
• Unrelated packaging• Personal items• Cables and clutter• Trash bins• Customer documents• Receipts and payment information• Logos unrelated to the product
If you use an actual store as the background, you may keep a few items that show the industry, but do not let the image become too cluttered.
Before shooting, confirm what the main subject of the frame is.
Recommendations:
• Make the product or person the focus of the image
• Leave appropriate space and do not sit too close to the edge
• Keep the phone level• Avoid cutting off important parts of the product
• Do not use an excessively tilted angle
• Keep a similar distance across a series of photos• Leave some room for later cropping
You can shoot landscape and portrait photos separately.
Landscape works well for article covers, environments, and wider service scenes; portrait works well for people, single products, and content viewed on phones.
📌 Do not rely on one photo to fit every purpose. For important content, shoot both a landscape and a portrait version.
For one product, you can prepare the following images:
Photo 1: Main overall image
Show the complete appearance so customers can quickly recognize the product.
Photo 2: Front and back
Help customers see the main design.
Photo 3: Side or interior
Show thickness, structure, capacity, or internal space.
Photo 4: Important details
For example, ports, buttons, zippers, textures, labels, or handmade parts.
Photo 5: Packaging and accessories
Explain what the customer will actually receive.
Photo 6: Usage scenario
Show how the product is used, but do not let the scene overshadow the product itself.
If the product has different colors, sizes, or styles, shoot them separately or clearly label which image corresponds to which option.
📌 Images must match the products actually sold. Do not use colors, accessories, or packaging that you cannot provide.
When a product is photographed alone, customers may not be able to judge its actual size.
You can use:
• Size reference images• A ruler or measuring tool• Holding the product in hand• Reasonable comparison with common objects• Shooting in a real usage space
If you add size text, use accurate units and keep it consistent with the product description.
Do not use special angles to make the product look larger than it really is, and do not use comparisons that may cause misunderstanding.
Food photos should reflect as closely as possible the meal customers actually receive.
Recommendations:
✅ Use the actual tableware and portion size
✅ Shoot as soon as possible after the meal is finished
✅ Keep the tabletop tidy
✅ Show the main ingredients and side dishes
✅ Shoot both the overall dish and close-ups
✅ Set meals should show the items actually included
✅ Takeaway items can show their packaging condition
Avoid:
• Using decorations that are not actually served• Making the portion look noticeably larger than it really is• Over-editing the food's colors• Showing side dishes that have been discontinued• Set meal photos that include items not part of the set
📌 If an image is for display only or the actual content may change, you can clearly note this in the dish description.
Service-based merchants can help customers understand through the process and environment.
Suitable to shoot:
• Staff preparing tools• The actual work process• Equipment in use• The service space• The customer visit process• The finished environment or results• Team discussions or inspection processes
For example:
Repair services
Show inspection tools, the work process, and the equipment's condition after completion.
Education and training
Show classrooms, teaching materials, learning activities, and teachers preparing lessons.
Beauty and hairdressing
Show the environment, tools, the service process, and actual works.
Renovation and design
Show on-site inspection, material selection, construction process, and the completed space.
Professional services
Show team discussions, prepared documents, and work scenes of communicating with clients.
📌 When photographing service processes, do not obstruct safe operation, and do not ask staff to perform unsafe or unrealistic actions for the sake of photos.
Some industries use before-and-after comparison photos of services.
It is recommended to keep:
✅ The same position
✅ A similar angle
✅ A similar distance
✅ Similar lighting
✅ Clearly indicate before and after states
✅ Do not make misleading edits
Before-and-after comparisons only show that specific actual project and do not mean all customers will get the same results.
In industries such as beauty, health, repair, cleaning, and renovation, do not exaggerate changes through different lighting, filters, or angles.
Environment photos help customers judge whether the store is convenient to visit.
Suggested contents include:
• Storefront exterior• Merchant signboard
• Entrance• Reception area
• Main service areas
• Seating or waiting areas
• Restrooms or other important facilities
• Floors, elevators, and parking entrances
• Accessibility facilities
Tidy the space before shooting, but do not alter the environment so that it differs completely from reality.
If the store is under renovation, relocating, or its facilities have changed, retake the photos and update the outdated images on your channel.
Team photos help customers know who provides the service.
When shooting, you can:
✅ Choose an actual working environment
✅ Wear clothing suitable for everyday service
✅ Keep natural expressions
✅ Show genuine working situations
✅ Avoid overly staged poses
✅ Keep the background tidy
People do not necessarily need to look at the camera all the time. Scenes of preparing products, using equipment, or discussing with colleagues can also naturally explain the work being done.
Before publishing photos of employees, customers, students, or partners, obtain appropriate consent first.
Article covers or event images may include a short title, but general product and environment photos do not need a large amount of text.
Image text should be:
• Short• Clear• Directly related to the topic• Leaving enough margin• Still easy to read when viewed on a phone• Not blocking products or people
Prices, dates, conditions, and detailed explanations can be placed in the body text or product information.
💡 Images are for showing, text is for explaining. Do not make one image carry all the content.
After shooting, you can make basic adjustments:
✅ Crop out unnecessary background
✅ Adjust the image to be level
✅ Moderately increase brightness
✅ Slightly adjust contrast
✅ Correct colors to be close to actual colors
✅ Cover personal information that should not be made public
Avoid:
• Changing the actual color of a product• Making a space appear noticeably larger• Removing a product's original defects and then still presenting it as a photo of the actual item• Adding accessories that do not actually exist• Over-beautifying service results• Using strong filters that distort the image
📌 The goal of editing is to make images clearer, not to change the actual condition of products and services.
Do not keep all photos in the same album after shooting.
You can sort them in the following ways:
• Basic merchant information
• Storefront and environment
• Main product images
• Product details
• Service process
• Team photos
• Customer cases
• Visitor guide
• Article covers
• Updates and events
File names can use:
"Product name – color – front"
"Service name – process – step one"
"Store – entrance – daytime"
"Parking lot – entrance direction"
Clear file names can reduce the chance of selecting the wrong image when publishing.
Retail stores
• Storefront• Main products• Product details• Packaging• Different styles• Actual usage scenarios
Food and beverage merchants
• Storefront• Dining environment• Signature dishes• Actual portion sizes• Set meal contents• Takeout packaging
Education and training
• Classrooms• Teaching materials• Teachers preparing lessons• Learning activities• Reception and waiting areas• Visiting route
Beauty and hairdressing
• Service space• Equipment and tools• Service process• Actual work results• Appointment reception area• Hygiene and preparation work
Renovation and repair
• Tools and materials• On-site inspection• Work process• Project details• Completed results• Team working scenes
Travel and accommodation
• Building exterior• Rooms• Public spaces• Facilities• Scenery• Entrance and parking locations
First 10 minutes: Tidy the environment
Clear tabletops, shelves, and backgrounds, and prepare the products to be photographed.
Next 15 minutes: Shoot the merchant environment
Shoot the storefront, entrance, reception area, and main business spaces.
Next 20 minutes: Shoot products or services
Following the checklist, shoot overall views, details, processes, and usage scenarios.
Next 10 minutes: Shoot the team
Shoot the person in charge, the team, and their actual working situations.
Last 5 minutes: Check the photos
Check whether they are clear, properly focused, and whether anything important has been missed.
💡 Checking right after shooting is easier to handle than discovering blurry photos after you get home.
Before uploading, confirm:
✅ The merchant owns the images or has a license to use them
✅ Employees and customers agree to public display
✅ Parental consent has been obtained for photos of children
✅ Customer files and order information are not in the frame
✅ Phone numbers and addresses are not accidentally exposed
✅ License plates and ID documents are covered
✅ Projects and works are permitted to be made public
✅ Other brand logos are used appropriately
✅ Images accurately reflect actual products and environments
📌 Even if photos are taken at the merchant's premises, this does not automatically permit publishing all people and information shown in the image.
✅ Are the photos clear and properly focused?
✅ Are the product colors close to reality?
✅ Is the background tidy?
✅ Do the images answer customers' questions?
✅ Do the photos include both overall views and important details?
✅ Do different styles correspond to the correct images?
✅ Do food portions match actual servings?
✅ Do the environment photos still reflect the current situation?
✅ Have permissions been obtained for people and projects?
✅ Do any private or payment details appear?
✅ Are the images easy to view on a mobile phone?
✅ Are file names easy to find later?
Merchant images do not all need to look like large advertisements.
What customers need most are genuine images that clearly show products, explain services, familiarize them with the environment, and help them decide on next steps.
Start by shooting the storefront, main products, representative services, and what customers ask about most often, then gradually add more based on channel articles and daily updates.
When images and text work together, customers can understand what the merchant offers more quickly.
Before picking up your phone, list ten photos that you truly need.
Choose a time with good lighting and a tidy background to complete the shoot, then select the clearest and most accurate images to publish.
WeiCityMake your business visible and your contact easier.